
Flint & Wick Co-pack
SKU: 1FLTWKCOPK
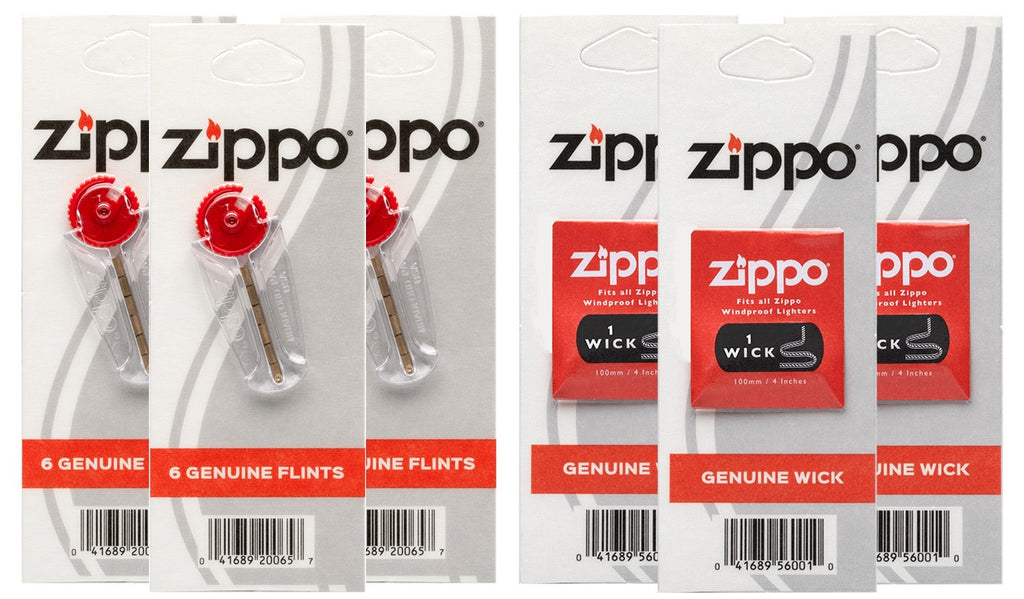
Genuine Flint Dispenser:
 Includes 6 flints in each dispenser
Compatible with all Zippo windproof lighters
How to Replace the Flint:

Step 1
First remove the insert from the lighter case.
Step 2
Using a small screw driver or a coin, slowly remove the spring. The spring has tension so be sure it doesn't fly away.

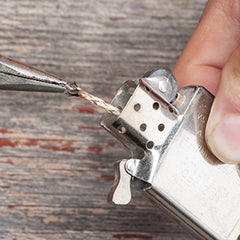
Step 3
Remove the remaining piece of flint by gently tapping the insert against a hard surface. Once it is removed, use an unfolded paper clip to remove any stubborn flint slivers or residue from the flint tube.

Step 4
Insert a new flint into the flint tube.

Step 5
Replace the flint spring and turn clockwise until tight. If the screw isn't fully tightened the lid will not close.

Step 6
After fully tightening the spring you may want to keep extra flints under the felt pad so you always have them handy for future use.

Step 7
Put the insert back into the lighter case and make sure the lid can fully close. if the flint wheel binds, turn the wheel backwards a few times.
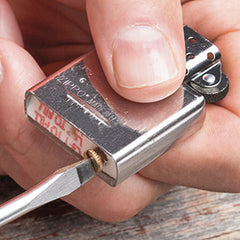
Trimming the Wick:
Step 1
First, gently pull up the wick using tweezers or pliers until the clean wick appears. Pull from as far down as possible to avoid ripping the wick.

Step 2
Using scissors or wire cutters trim the wick. This should be performed once or twice per year for optimal performance. After 2-3 trimmings the wick should be replaced.
How to Replace the Flint:

Step 1
First, remove all components from the bottom of the lighter insert; flint screw, felt pad, packing material, and the old wick.

Step 2
To replace the wick, insert a new wick either downward through the chimney or through the bottom of the lighter insert.

Step 3
Next, bend the top portion of the wick over the chimney to hold it on place during assembly.

Step 4
Then, carefully reinstall the packing material in the same order it was taken out. As you are reinstalling in small pieces weave the wick between the padding in an 'S' pattern.

Step 5
Reinstall the felt pads over the flint tube and secure it with the flint spring. Be sure the flint does not fall out during this process.

Step 6
Once your components are reinstalled put the insert back into the case and trim the wick. The lighter is ready to go.